In our fast-paced world, finding fun and engaging ways to stay active is essential for maintaining a healthy lifestyle.
One creative approach to getting fit is by designing a backyard agility course using items you already have at home.
Not only is this a fantastic way to get moving, but it also provides an excellent opportunity for family bonding, training pets, or simply enjoying time outdoors.
Let’s explore how to turn common household items into an exciting agility course!
Planning Your Course
Before diving in, it’s crucial to plan your agility course.
Consider the space you have available—whether it’s a large backyard or a smaller patio.
Visualize the layout and think about the various elements you’re going to include.
You can create different areas that focus on agility, balance, and speed. Here’s a simple breakdown:
1. Obstacle Navigation:
Use items like chairs, cushions, or picnic tables.
They can mimic hurdles that need to be navigated or crawled under.
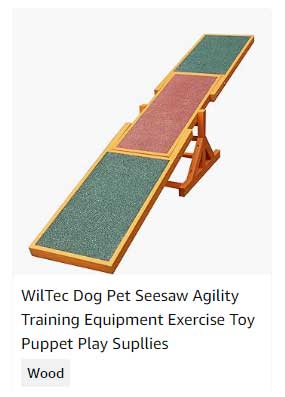
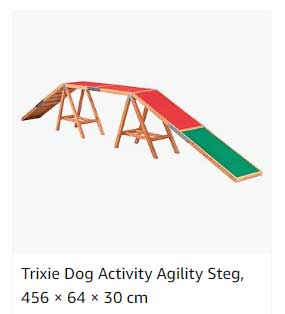
2. Balance Beams:
A sturdy plank of wood or a thick garden hose can serve as a balance beam.
Ensure it’s stable so it can support the weight of participants.
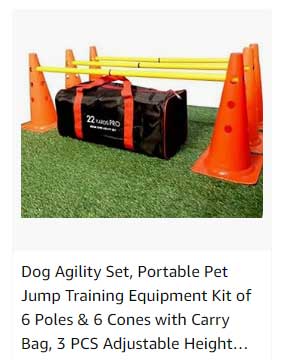
3. Jumping Stations:
Use broomsticks placed on top of two stacks of books or other sturdy items to create jumps.
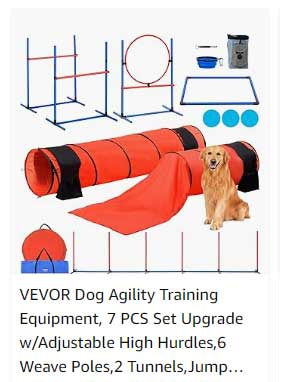
4. Weaving Posts:
Set up plastic bottles, cones, or even sticks spaced evenly to weave through.
5. Tunnel Runs:
Open up cardboard boxes or use child play tunnels if you have them to create a fun tunnel for crawlers.
Collecting Household Items
Take a stroll around your house to gather supplies!
Here are some common items you might find: –
Chairs:
Great for creating hurdles.
Cushions:
Use them to create soft landings or obstacles.
Broomsticks:
Perfect for jump challenges when balanced on other objects.
Blankets:
These can be used as flags or to delimit zones.
Buckets:
Fill them with sand or stones to stabilize other items, or use them as targets.
Toys:
If you have hula hoops or balls, use them for jumping or rolling challenges.
Setting Up the Course
Once you’ve gathered your materials, it’s time to set up your course.
Here’s how you could structure it:
1. Start Line:
Mark the starting point with a line made from tape or some chairs.
2. Obstacle 1 (Hurdles):
Lay a broomstick on two stacks of books and place it about ten feet from the start line.
3. Obstacle 2 (Weaving):
Set up a series of bottles or cones for weaving in and out.
4. Obstacle 3 (Balance Beam):
Lay your plank on the ground and make sure it’s stable for walking across.
5. Obstacle 4 (Tunnel):
Set up a cardboard box at the end of the balance beam that participants need to crawl through.
6. Finish Line:
Conclude the course with a line drawn or some cones to signify completion.
Testing The Course
Once your agility course is set up, it’s time to put it to the test! Have friends, family, or pets give it a try.
Timing participants can add an exciting competitive element, or you can simply aim for the fastest time.
Encourage different techniques for completing each obstacle, as this adds variety and challenges to the course.
Safety First
Safety should always be a priority.
Ensure that all items used are sturdy and that there’s enough space to prevent accidents.
Clear the area of hazards like sharp tools or uneven ground.
It’s also a good idea to wear appropriate clothing and footwear to prevent slips and falls.
Conclusion
Building a backyard agility course using household items is not only a fun way to be active but also an opportunity for creativity.
It fosters physical fitness while encouraging teamwork, laughter, and friendly competition.
Gather your family, start collecting items, and let the agility games begin!
The best part is that each time you run the course, you can modify it, add new challenges or even host mini-competitions to keep the excitement alive.
Enjoy your outdoor adventures!

